|
||

|
|
||||||||||||||||||
|
#1
 18-12-2012
|
|||
|
|||
|
My Team XRay XB4 Build Blog Supported by RC Disco 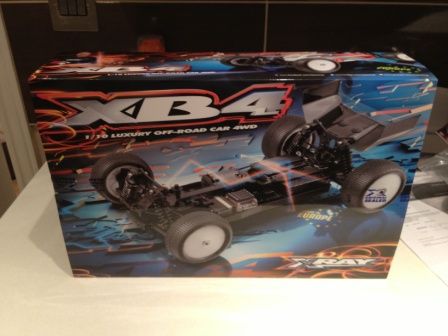 I have now being driving Xray cars for the past year in 1/8th Nitro section, namely the XB9, and whats surprised me the most is the high standard of build quality, its strength and durability; so when Xray announced they were to enter the 1/10 electric off road scene, great anticipation swept through the rally cross nitro team (AKA Team RC Disco). I have just received my car from the first batch into the country, and upon breaking the Xray  seals securing the contents of the box, I was met with various organised bags of parts ready for assembly. seals securing the contents of the box, I was met with various organised bags of parts ready for assembly. Box contents 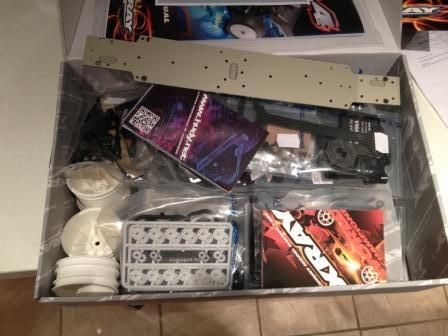 Bag 1 contents Front and Rear Differential  My first task according to the instruction book is to build the front and rear diff (bag 1), with both of the diffs being exactly the same apart from different silicone oils, 10,000cts in the front and 5,000 cts in the rear. This type of setting this is for a medium to high traction and over time we will be testing these on different conditions and will report back. Picture of diffs 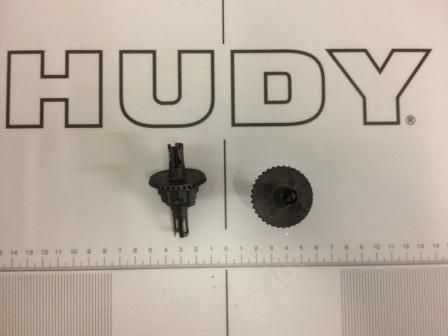 Bag 2 contents Front Central and Rear Central Transmission 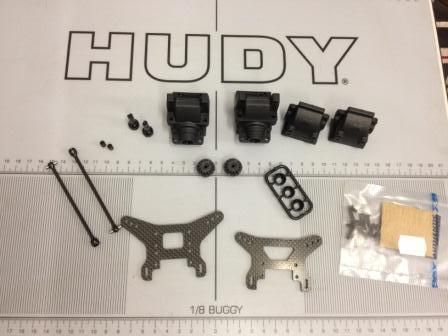 Next on the build process is the construction of the front and rear diff casings (bag 2) including the graphite shock towers. First task here was to lightly rub down the graphite parts with some fine wet and dry sand paper on the edges prior to putting some tyre glue (AKA Glue) around its edges, this is to help bind the strengthen the edges against impact crashes. Once this was done it was a case of assembly all the parts from this bag, word of advice make sure you check your front and rear diff bulkhead making sure the front is at the front and the rear is at the rear. Dont do what I did and assembly this the wrong way round. Picture of bag 3 Front and rear Suspension 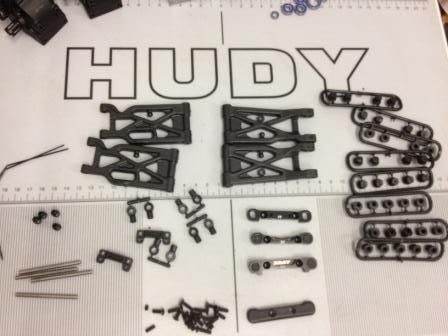 We now move on to bag 3 which includes front and rear arms, hinge pins, hinge pin holders and roll bars. Prior to starting the positioning of all parts in this section I decided to take my arm reamer and smooth out the hinge pin holes on the suspension arms, this just gives a smoother movement. After following the instructions what surprised me the most was the tightness of the holes in which the screws went into, note to everyone do not over tighten the screws into the plastic parts because over time there could be a chance of stripping them. 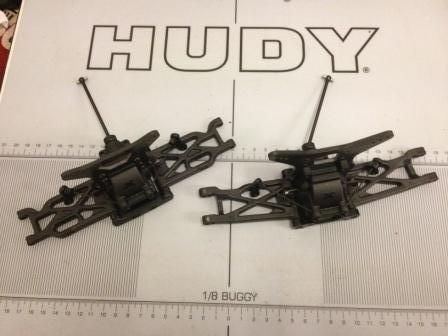 Picture of bag4 Front and rear Transmission 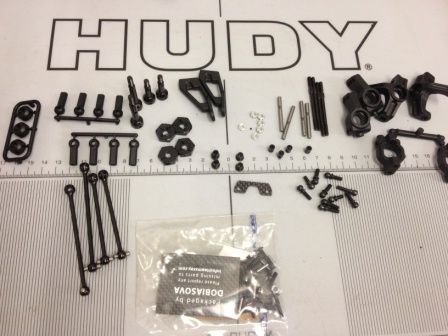 This section of the build was one of the biggest to complete, ranging from rear hubs to front steering blocks and not forgetting the fitting of front and rear transmission to the innovative chassis. All parts of this build went smoothly without any hiccups which is extremely pleasing when a lot of parts are involved. 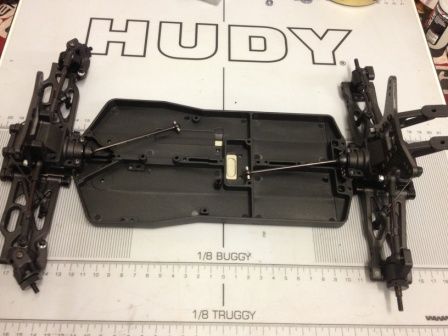 Bag 5 Steering We now more on to the relatively easy assembly of the steering system, make sure of free movement of all parts. Picture of bag 6 Slipper Clutch Assembly 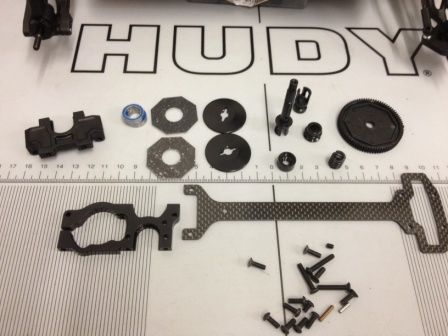 This part of the manual focused on the building of the centre slipper diff, and would normally be fairly easy to construct, I must admit I must have put something in the wrong place because I couldnt get the two bearings to fit in between its housing. After taking it apart and separating all the parts I started again with a remarkable improvement, everything went where it should go. I should note at this point I have followed the instructions regarding setting up the slipper clutch, I will set this correctly once the car kits the track. 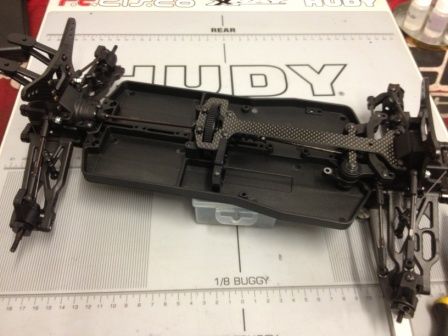 Picture of bag 7 Shock Absorbers 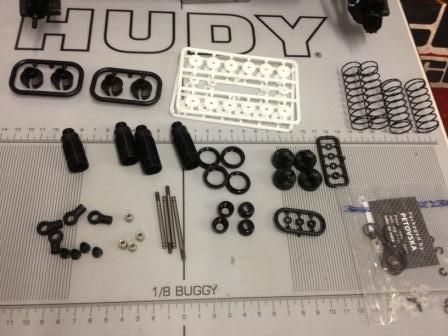 Building this type of shock without a bladder and with a bleeding point is completely new to me, it was 2am in the morning when I attempted this section, which probably isnt the best when so many small parts are concerned. The shocks got built satisfactory but once I have tuned and ran in the car I will redo the shocks again. I set my shocks to 50% rebound as I like my cars which way, but once testing gets underway, I will try different rebounds. 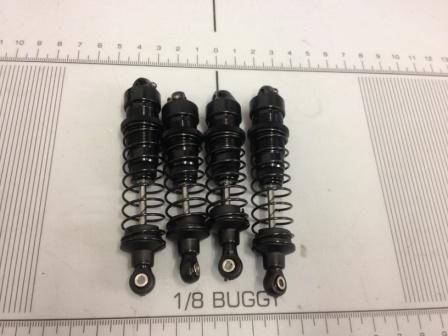 Picture of bag 8 Final Assembly 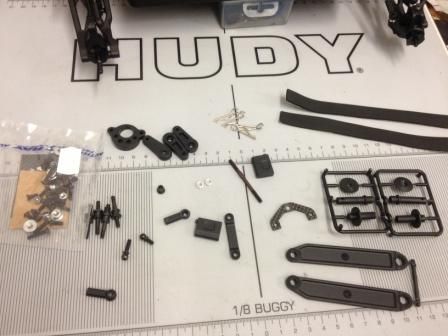 The final section is finally upon us, this again is a very busy section, shocks will in be installed, and all the electrics will be going into the car. One thing I liked about the xb4 build in this section was the method of attaching the motor and setting the meshing of the gears, I have never known anything as easy as the xb4s meshing method. Once I had set up and positioned the electronics it was time to solider the cables into place, and Im a little embarrassed to say this, whilst soldering I thought it would be good idea (which I have gone before to save time) to refill my gas soldering iron whilst using it. How wrong could I be, I managed to singe the hairs on the back of my hand from the fire ball coming out of the soldering iron and to make matters worst I chucked the iron into a bucket of paper and nearly started a fire which by the way was next to some nitro fuel. Anyway after taking a minute, it was on to turning the car on for the first time to which a big simile crept across my face. The build is complete!!! On reflection I was amazed at the ease of putting everything together and the build quality of all the parts, something which I had only experienced once before with the XB9. Picture of completed car 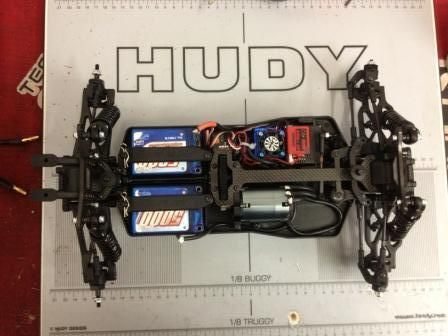 I must say a special thanks to Greg at RC Disco for the support past and present. I will post a picture of my new shell on this once I have sorted it out. I will update this blog through the coming winter and summer season sharing my experiences with this beast of a car. We at RC Disco and Team X-ray will be attending various races through the winter and summer months, everyone is more than welcome to come over and have a chat and ask for help if needed.

|
 |
|
|


 XRAY
XRAY

 Linear Mode

